
15 Basketball Drills for Kids to Build Basic Skills
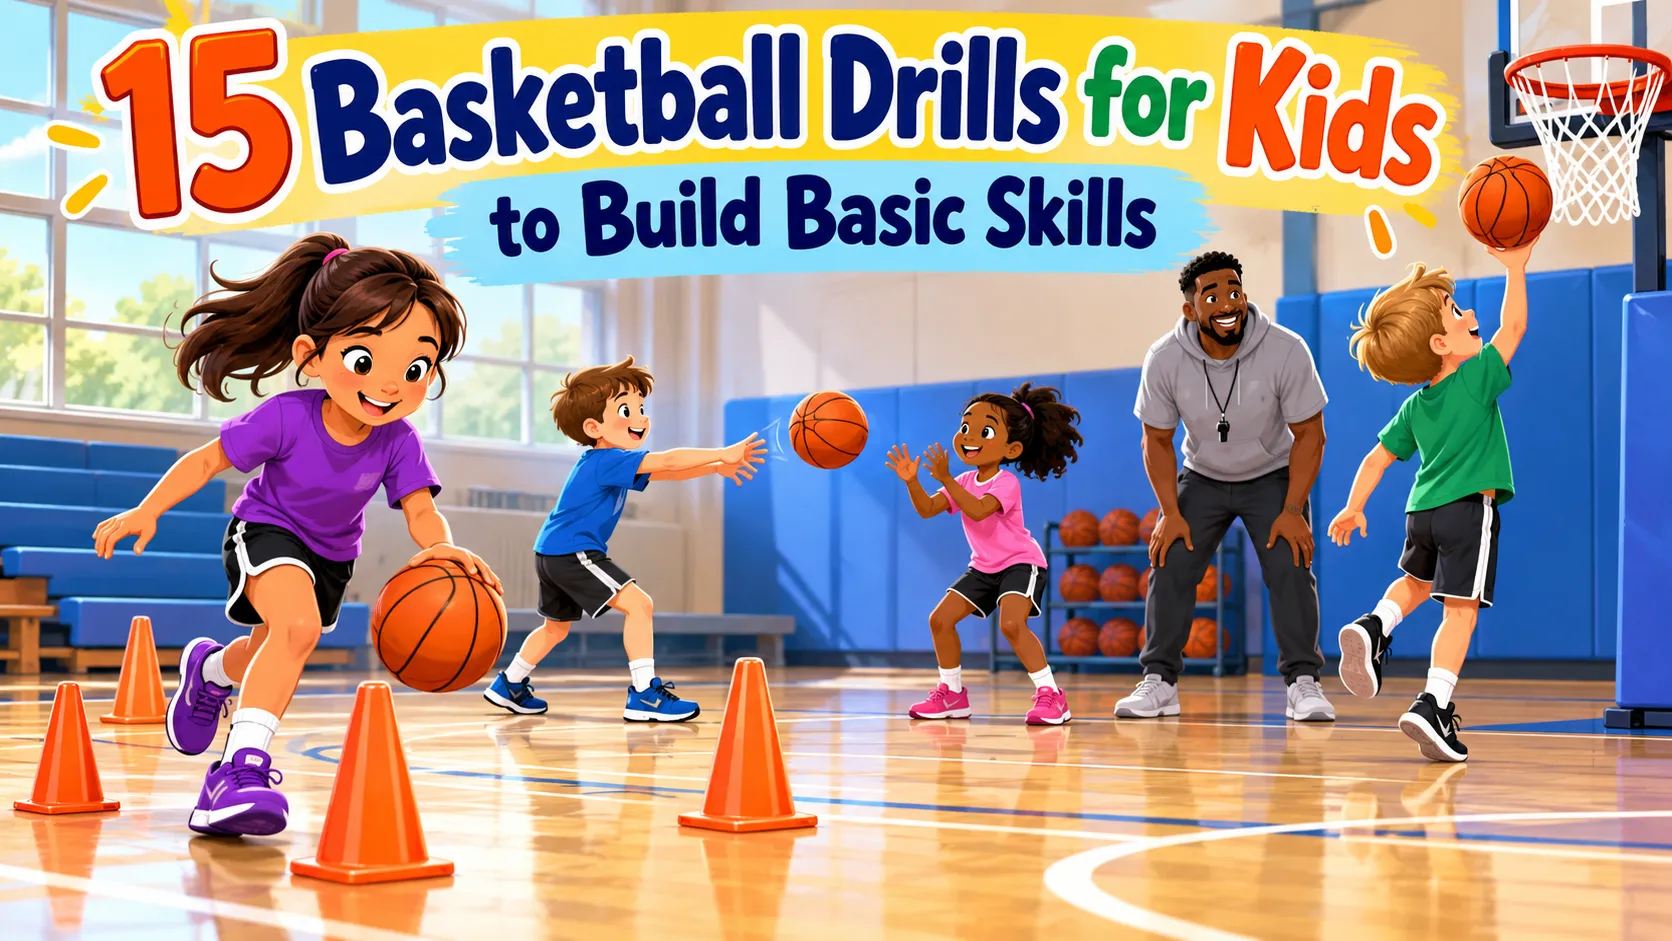
Basketball drills for kids can start with something as simple as bouncing a ball in place or passing it to a partner. Young beginners don’t need complicated equipment or a full team to practice the fundamentals. Several useful exercises don’t even require a hoop.
The key is choosing activities that match a child’s current abilities. A player who struggles to control a stationary dribble needs a different challenge from someone learning to shoot after receiving a pass. These 15 beginner-friendly drills cover ball handling, footwork, passing, shooting, and simple games, with practical adjustments for parents, teachers, and youth coaches.
Start With the Skill Your Child Needs
Watch a child play with a basketball before deciding what to practice. The way they handle the ball often reveals more than their age or how long they’ve been playing.
A beginner might dribble confidently while standing still but lose control when walking. Another may catch passes comfortably yet struggle to send the ball back accurately. Both need different starting points.
Use these observations to choose an exercise.
| What you notice | Skill to practice | Suggested drill |
|---|---|---|
| The ball frequently gets away | Stationary ball control | Stationary Dribble Challenge |
| The child constantly watches the ball | Dribbling awareness | Eyes-Up Dribbling |
| Passes are difficult to catch | Passing accuracy | Partner Chest Pass |
| The child loses balance when stopping | Footwork | Jump Stop and Freeze |
| Shots require awkward, forceful movements | Shooting mechanics | Close-Range Form Shooting |
Begin with one or two skills rather than correcting every mistake at once. If an exercise becomes frustrating, simplify the movement before adding more repetitions.
Before practice: Choose a clear, suitable playing surface, check the equipment, and leave enough space between participants. Adult supervision is particularly important for drills involving moving players, passing, or shooting near a basket.
Five Ball-Control Drills Without a Hoop
A basketball hoop isn’t necessary for learning how to handle the ball. These exercises introduce controlled hand movements, dribbling, and basic footwork before children face the additional challenge of shooting.
1. Around-the-Body Ball Wraps
Equipment: One basketball
Skill: Ball handling and hand coordination
Have the child stand with feet comfortably apart and hold the ball in front of their waist. Without bouncing it, they pass the basketball around their body, switching hands behind their back.
After several smooth circles, reverse direction.
The challenge is to keep the ball moving without dropping it. Speed isn’t important initially. Once the movement becomes comfortable, try wrapping the ball around one leg or moving it in a controlled circle around the knees.
For children who struggle to grip the basketball, start with a smaller, lighter ball. Return to the basketball when they can manage the movement.
2. Stationary Dribble Challenge
Equipment: One basketball
Skill: Dribbling control
Begin in a balanced stance with knees slightly bent. The child pushes the basketball toward the floor with one hand, allowing it to return to a comfortable height.
Encourage contact through the fingers and hand rather than slapping the ball with a stiff palm.
Try this progression:
- Maintain a controlled dribble with the preferred hand.
- Repeat using the other hand.
- Change the dribble height slightly while keeping control.
A few steady bounces are more useful than a long sequence of uncontrolled ones.
If the ball regularly bounces above the player’s shoulder or moves away from their body, reduce the force and practice at a comfortable height before increasing difficulty.
3. Eyes-Up Dribbling
Equipment: Basketball and an adult or partner
Skill: Awareness while dribbling
Many beginners concentrate so heavily on the bouncing ball that they rarely notice what’s happening around them.
Ask the player to begin a stationary dribble. Stand in front of them and hold up a number of fingers. Their task is to call out the number while continuing to control the basketball.
Start with slow signals and allow occasional glances at the ball.
As the movement becomes easier, introduce colored cards or simple directional signals.
If dribbling breaks down whenever the child looks up, return to stationary control practice. The goal is gradual improvement in awareness, not forcing the player to keep their head up at every moment.
4. Red Light, Green Light
Equipment: Basketball and two boundary markers
Skill: Dribbling while moving and stopping
This familiar playground game works well as a beginner basketball activity.
Players line up along one boundary. When the coach calls “Green light,” they dribble forward at walking speed. At “Red light,” they stop moving and continue dribbling in place.
Nobody is eliminated for losing the ball. Children retrieve it and restart safely.
For an additional challenge, introduce “Yellow light” to signal slower movement. More experienced players can try using their less comfortable hand.
Keep everyone traveling in the same direction with enough space to avoid collisions. A small practice area works better with fewer participants.
5. Jump Stop and Freeze
Equipment: Basketball, optional at first
Skill: Balance and stopping footwork
Begin without a ball. The child walks forward, makes a small controlled hop, and lands on both feet simultaneously with knees bent.
Call “Freeze” and check whether they can hold their position without taking an extra step.
After several controlled landings, introduce a basketball. Have the player dribble forward slowly, gather the ball, and finish with a balanced stop.
Once a player ends their dribble, they cannot simply begin dribbling again. Their next action might be a pass, a shot, or a legal pivot.
Coaching note: Pivot options depend on how a player gathered the ball and completed the stop. A two-foot landing does not automatically permit either foot to become the pivot foot in every situation. Teach the basic balance movement first and introduce the applicable traveling rules as the child progresses.
Four Partner Drills for Passing
Passing adds another responsibility: delivering the ball where a teammate can receive it comfortably.
These exercises work with two players and one basketball. Begin close together, then increase distance only when both children demonstrate control.
6. Partner Chest Pass
Equipment: One basketball and two players
Skill: Passing accuracy and catching
Partners face each other a short distance apart.
The passer holds the ball near chest height with both hands, steps toward the receiver, and extends their arms to send the ball forward. Their thumbs rotate downward during the follow-through.
The receiver watches the ball, presents both hands, catches it, and returns the pass.
Instead of racing, challenge the pair to complete several accurate passes without either player needing to chase the basketball.
If the ball repeatedly arrives above the receiver’s head or near their feet, adjust the passing direction and force before moving farther apart.
7. Bounce Pass Through a Gate
Equipment: Basketball and two cones or markers
Skill: Bounce-pass accuracy
Place two markers between partners to create a wide gate.
The passer aims the ball toward the floor so it travels through the opening and rises to a comfortable catching height for their teammate.
The point where the ball hits the floor matters. A bounce too close to the passer may leave the receiver reaching forward, while one too close to the receiver can make the pass difficult to catch.
Move the markers farther apart if the challenge is too difficult.
When passes regularly reach the partner, gradually narrow the gate. Keep the exercise focused on accurate delivery rather than throwing harder.
8. Pass, Move, and Receive
Equipment: Basketball, two players, and floor markers
Skill: Passing followed by movement
Mark a starting position and a nearby receiving spot.
Player A passes the ball to Player B, then moves into the open position. When Player A turns and shows their hands, Player B returns the pass.
The players exchange roles after several repetitions.
The important lesson comes after the first pass: the player without the ball still has something to do.
Begin at walking speed. If children run past their receiving positions or turn away from the incoming ball, slow the movement and shorten the distance.
9. Pivot and Pass
Equipment: Basketball and a partner
Skill: Pivoting and passing from a balanced stance
Start with the player stationary, holding the basketball with both feet on the floor.
Ask them to keep one foot planted while stepping around with the other. The planted foot is the pivot foot.
Position a partner slightly to one side. The player turns toward the receiver without moving the pivot foot from its contact point, then completes a controlled chest pass.
Once the movement is familiar, increase the turning angle.
When practicing after a moving catch or dribble, the coach must account for how the player established the pivot foot under the applicable rules. A stationary introduction avoids adding that complexity too early.
Four Shooting Drills for Beginners
Young children often struggle with shooting because the ball is too heavy, the basket is too high, or they start too far away.
A closer target allows the player to concentrate on balance and a controlled release instead of forcing the ball toward the hoop.
10. Close-Range Form Shooting
Equipment: Basketball and an appropriately sized hoop
Skill: Shooting mechanics
Position the child near the basket at a distance that allows a comfortable shot.
The shooting hand supports the ball from underneath, with the other hand helping to steady it at the side. Begin with bent knees and a balanced stance facing the basket.
As the player extends upward, the shooting arm follows through toward the target. The guide hand should not provide the main pushing force.
Watch for excessive sideways twisting or throwing with both hands to compensate for equipment that’s too demanding.
Making every shot isn’t the objective. A balanced, repeatable movement matters more at this stage.
11. Three-Spot Shooting
Equipment: Basketball, hoop, and three markers
Skill: Shooting from different positions
Place three markers near the basket: one directly in front and one slightly to either side.
The player takes a few shots from each position, resetting their stance before every attempt.
All three spots should remain close enough for comfortable shooting mechanics. This isn’t a three-point shooting exercise.
Ask the child to notice whether they face the hoop consistently from different angles.
If shots from one position require an awkward movement, bring that marker closer.
For a playful variation, let the player name each location after a favorite basketball team.
12. Walk-Through Layup Steps
Equipment: Basketball and hoop
Skill: Layup footwork
Teach the stepping pattern without a ball first.
For a basic right-handed layup, the child practices stepping right, then left, jumping from the left foot, and extending the right hand upward.
For a standard left-handed layup, reverse the sequence: left step, right step, jump from the right foot, and extend the left hand.
Once the pattern is comfortable, practice receiving the ball while moving and taking the permitted steps toward the basket.
Introduce dribbling only after the child understands the footwork and when the ball must be gathered.
A layup is normally attempted close to the basket, often using the backboard. Keep the approach slow and allow only one active shooter in the lane at a time.
13. Catch, Set, and Shoot
Equipment: Basketball, hoop, and a passer
Skill: Preparing to shoot after receiving a pass
The shooter begins near the basket without the ball.
A partner delivers a controlled pass. The shooter catches it, establishes a balanced position, faces the hoop, and completes a short-range shot.
Initially, allow the child to pause between catching and shooting.
As their control improves, they can practice a smoother transition without rushing the release.
If the player regularly loses balance after catching, move closer to the passer or slow the sequence.
The objective is to connect catching and shooting, not imitate the speed of an experienced player’s catch-and-shoot technique.
Two Games That Connect the Skills
Once the basic movements are familiar, children can begin combining them in small challenges.
These games introduce simple decisions without requiring a full basketball team or complicated offensive plays.
14. Cone Path and Pass Challenge
Equipment: Basketball, three cones, and a partner
Skill: Dribbling, stopping, and passing
Arrange the cones along a short route with enough room to move around each marker.
The player dribbles through the path, approaches a designated stopping spot, gathers the ball, completes a controlled jump stop, and passes to their partner.
The receiving player begins the next turn.
Rather than timing the route, focus on three observations:
- Did the player keep control while changing direction?
- Was the final stop balanced?
- Did the pass reach the waiting partner?
If the route becomes difficult, increase cone spacing or remove turns.
A straight path can be a useful starting point before introducing changes of direction.
15. Two-on-Two Pass-Before-Shot
Equipment: Basketball, hoop, and four players
Skill: Basic passing decisions and teamwork
Divide the players into two teams. The attacking pair must complete at least one pass before taking a shot.
Defenders begin with light, controlled pressure and avoid unnecessary contact. After a shot or turnover, possession changes.
The additional passing rule encourages teammates to look for one another instead of immediately attempting difficult individual shots.
For children who aren’t ready to play against active defenders, use stationary defenders or begin with an unopposed passing sequence.
Keep the playing area clear and rotate partners so everyone participates. If four players cannot move comfortably within the available space, return to partner drills.
Adjust the Drills by Age and Skill
Age matters when choosing basketball equipment, but it isn’t the only consideration. Children of the same age can have very different levels of coordination, experience, and confidence.
USA Basketball and the NBA provide age-based recommendations for youth competition, including basketball size and basket height.
| Age group | Equipment considerations | Suitable starting challenges |
|---|---|---|
| Ages 5–6 | Choose a light, manageable ball and low, reachable target | Ball wraps, basic dribbling, simple footwork |
| Ages 7–8 | Size 5 ball, 27.5-inch circumference; 8-foot basket recommended | Stationary control, short passes, close-range shooting |
| Ages 9–11 | Size 6 ball, 28.5-inch circumference; 9-foot basket recommended | Direction changes, moving passes, simple shooting decisions |
The figures for ages 7–11 are youth basketball recommendations, not mandatory specifications for every driveway or school program. The first row is a practical equipment-selection suggestion rather than a corresponding age segment from those guidelines.
A smaller ball may allow a young player to handle and control it more comfortably. Likewise, a lower basket can make it easier to practice a shooting motion without excessive force.
Adjust one challenge at a time. For example, increase dribbling distance before introducing faster movement and defensive pressure simultaneously.
If a child struggles with the new condition, return to a manageable version. Their ability to perform the skill with control is more useful than following a rigid age-based progression.
Build a Simple Beginner Practice
A practice session doesn’t need to include every drill. Select a few activities that address the child’s current skills, with enough variety to keep the experience enjoyable.
Here’s an example of a 20-minute beginner mini-practice with access to a hoop and a partner:
- 3 minutes — Get comfortable with the ball. Start with Around-the-Body Ball Wraps and easy stationary dribbling.
- 5 minutes — Practice dribbling control. Use Stationary Dribble Challenge, then play a short round of Red Light, Green Light.
- 4 minutes — Work on passing. Exchange chest passes and practice bouncing the ball through a wide target gate.
- 5 minutes — Practice shooting. Move close to the hoop for Form Shooting or Three-Spot Shooting.
- 3 minutes — Finish with a game. Try the Cone Path and Pass Challenge at a comfortable pace.
This is an illustrative short session, not a required training duration or a replacement for a complete organized youth basketball program.
What if You Don’t Have a Hoop?
Replace the shooting portion with Jump Stop and Freeze, Pivot and Pass, or Eyes-Up Dribbling.
An outdoor space or suitable indoor sports area can still accommodate useful basketball practice without a basket. Choose drills according to the surface, available room, and surrounding people.
How Do You Keep Practice Enjoyable?
Give children achievable challenges and opportunities to make choices.
One child may enjoy counting controlled dribbles. Another might prefer inventing a cone route or choosing the next passing target.
For group practices, use small stations where possible to reduce waiting. During individual sessions, two or three well-chosen exercises may be enough.
Stop or simplify an activity when fatigue, discomfort, or frustration makes controlled movement difficult. A short session that ends positively is preferable to forcing additional repetitions.
Know When to Make It Harder
Progress isn’t always about faster dribbling, longer passes, or more successful shots. Watch for balance, ball control, awareness, and an understanding of the movement.
When an exercise becomes comfortable, introduce one additional challenge. If control disappears, return to the simpler version and try again later.
The most useful basketball drills for kids are those that help them build skills gradually while leaving room for play, mistakes, and enjoyment.