
15 Easy Sports Crafts for Kids to Make at Home or School
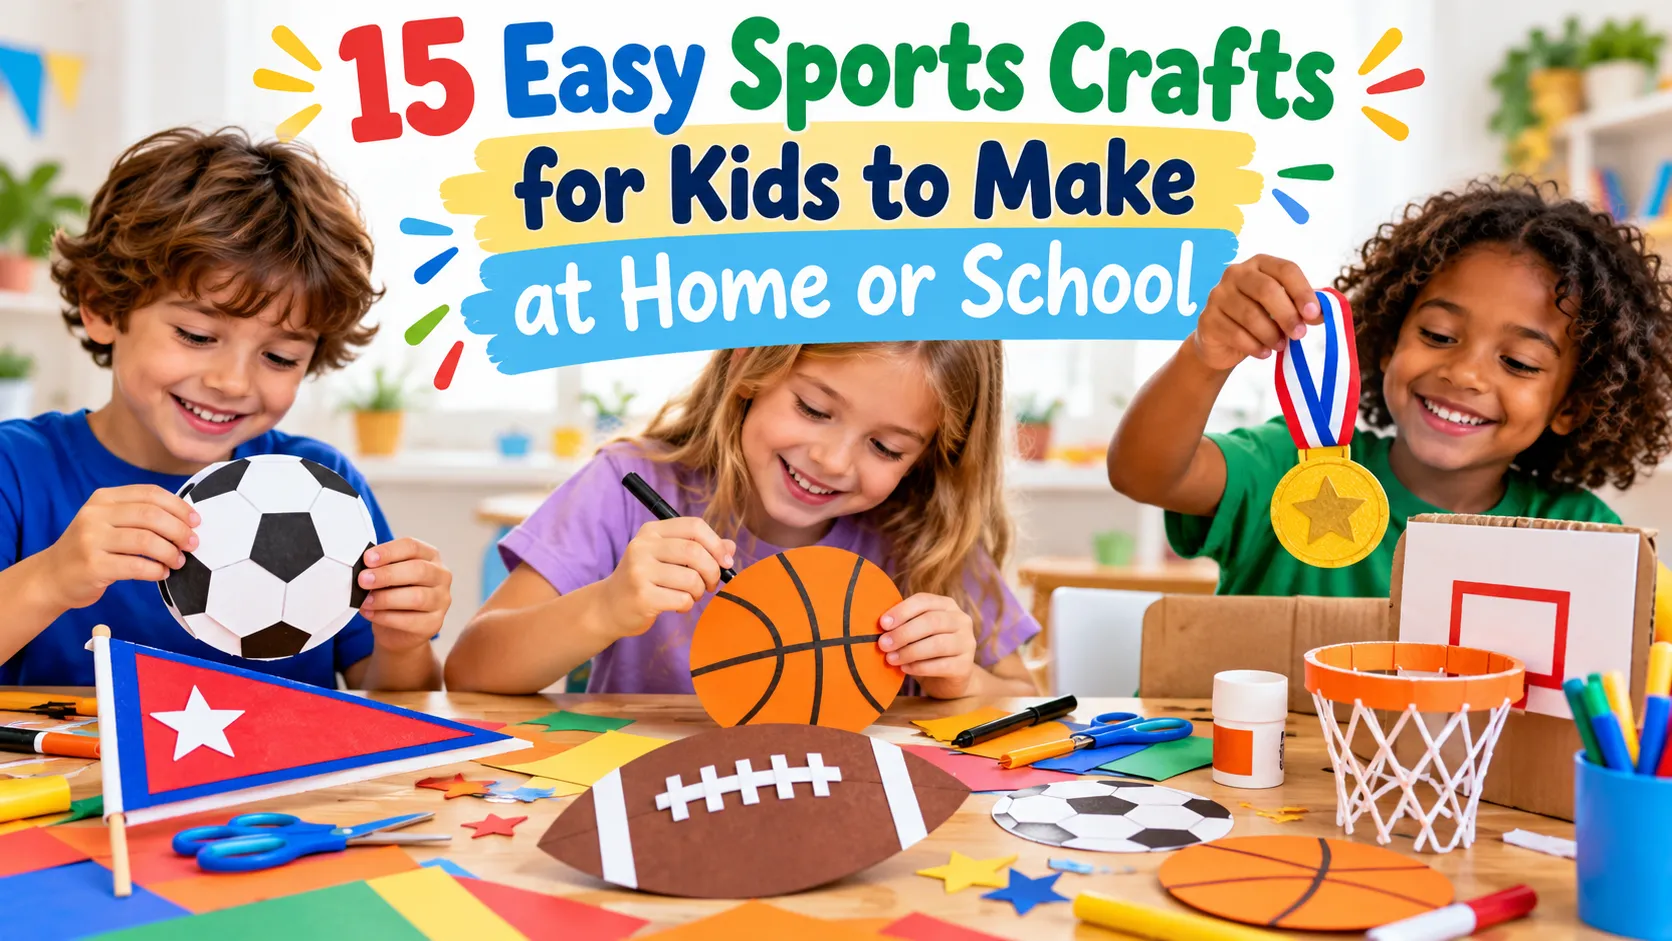
Sports crafts for kids can turn a stack of construction paper, a few cardboard boxes, and some markers into an afternoon of making things. Children can design their own team jerseys, build miniature basketball hoops, create paper medals, or make decorations inspired by their favorite sports.
The best project depends on what happens after the crafting is finished. Some kids want something to hang on the wall, while others would rather build a game they can actually play. These 15 ideas cover both, with simple materials, practical instructions, and ways to adapt the activities for home or school.
Choose a Craft That Fits Your Group
Before gathering supplies, decide whether the children will be making decorations, pretend team gear, or something they can play with. A paper soccer ball suits a short art session, while a cardboard basketball hoop gives kids a small construction challenge.
Most of the projects use materials commonly found in classrooms and craft drawers:
- Construction paper and cardstock in different colors
- Empty shoeboxes, cereal boxes, and scrap cardboard
- White paper plates and paper cups
- Washable markers, crayons, and colored pencils
- Glue sticks, school glue, and painter’s tape
- Child-appropriate scissors and pencils
- Stickers, yarn, and other optional decorations
- Scrap paper for making lightweight game pieces
There’s no need to buy everything. Choose a project first, then collect only the materials it requires.
Safety Note: Use art supplies appropriate for each child’s age and abilities. Adults should supervise cutting, handle sharp tools, and prepare difficult pieces when necessary. Avoid small detachable decorations around children who may put objects in their mouths.
For classroom activities, separating supplies into project stations keeps children from having to search through one large collection. At home, placing everything on a tray or covered table makes cleanup easier.
Easy Paper Sports Crafts
Paper projects are a good place to begin. They require little construction, and children can recognize familiar sports equipment through its shape, colors, and markings.
1. Paper Plate Soccer Ball
A white paper plate provides the circular outline for a soccer ball. Children add the familiar dark panels to create a decoration for their room or a classroom sports display.
Materials: White paper plate, black construction paper, pencil, scissors, glue, and black marker.
How to make it:
- Draw a pentagon on black construction paper and cut it out.
- Glue the pentagon near the center of the plate.
- Cut several additional dark shapes for the outer panels.
- Arrange the pieces around the plate before gluing them down.
- Draw connecting lines to suggest a soccer ball’s panel pattern.
The design doesn’t need to reproduce the exact geometry of a real soccer ball. Younger children can work with pre-cut shapes, while older kids can try arranging their own pattern.
For a different look, replace the black panels with a favorite team color. Several finished plates placed together can become a soccer-themed bulletin board.
2. Construction Paper Basketball
Basketballs have a distinctive pattern of straight and curved lines. This flat paper version gives children a chance to recreate those details and personalize the result.
Materials: Orange construction paper, black marker, pencil, and scissors.
How to make it:
- Draw a large circle on orange construction paper.
- Cut out the circle.
- Draw a vertical and horizontal line crossing near the center.
- Add curved lines on either side to create a basketball-style pattern.
- Write a team name or player number on the finished shape.
A plate makes a convenient circle template if drawing freehand is difficult.
The finished basketball can become a door sign, locker decoration, or part of a sports-themed poster. Children can also cut several circles in different sizes to create a basketball display.
3. Paper Football With Laces
The pointed shape and contrasting laces make an American football recognizable even when it’s made from a single sheet of paper.
Materials: Brown construction paper, white paper, scissors, pencil, and glue.
How to make it:
- Fold brown construction paper in half.
- Draw half of a pointed oval along the fold.
- Cut through both layers and unfold the shape.
- Glue a narrow white strip across the middle.
- Add several shorter white strips across it to represent laces.
- Finish with white stripes near both ends.
A white crayon works in place of the paper strips for children who prefer drawing to gluing.
The completed football can be displayed alongside football coloring pages. Kids who finish early can color an additional football design or create a matching paper helmet.
4. Sports Ball Collage
Instead of choosing one sport, children can make a poster featuring several. A basketball, soccer ball, tennis ball, baseball, and volleyball each offer different colors and markings to explore.
Materials: Large cardstock sheet, construction paper, markers, scissors, and glue.
Begin by drawing or tracing circles in several sizes. Cut them out, then decorate each one to represent a different sport.
A baseball might have curved red stitching, while a tennis ball uses a bright yellow shape with white lines. Children can also experiment with the panel patterns of volleyballs and soccer balls.
Arrange everything on the background before applying glue. Add sport names beneath the illustrations or give the collage a title.
For a group version, assign each child a different ball to design. Combine the finished pieces into one large classroom display rather than making identical posters.
Make Your Own Team Gear
Team colors, uniforms, and cheering accessories give children room to invent characters and identities of their own.
They don’t need to follow a real sports team. A group of kids can create an imaginary club, choose its mascot, and use that identity across several projects.
5. Design Your Own Sports Jersey
A paper jersey lets children experiment with uniforms without using fabric or clothing paint.
Materials: Construction paper, pencils, markers, scissors, and optional stickers.
Draw a simple jersey outline on construction paper. A T-shirt shape with wide sleeves works for most sports, while a sleeveless design resembles a basketball jersey.
Once the shape is cut out, children can add:
- A team name across the front
- A large player number
- Stripes or contrasting sleeves
- A mascot or original team logo
- Their name or an imaginary player’s name on the back
For a classroom activity, prepare several blank outlines but leave the colors and details to the children.
When everyone finishes, arrange the jerseys into a team lineup. Children might notice that their designs share certain colors or symbols even though no two are exactly alike.
6. DIY Team Pennant
A pennant is a pointed flag associated with team spirit. The paper version makes a lightweight decoration for a wall, bulletin board, or pretend sports event.
Materials: Cardstock, ruler, pencil, markers, scissors, and glue.
How to make it:
- Draw a long triangle with a wide, straight base.
- Cut along the outline.
- Write a team name near the wide end.
- Add a mascot, number, or symbol in the center.
- Decorate the edges with stripes or contrasting paper.
- Display the pennant on a board or attach it to a wall with suitable removable tape.
Children can invent a team called the Thunderbolts, Rockets, or Mountain Bears and design a symbol that fits its name.
A classroom full of different pennants can form a colorful sports wall. For a team event, each group could make a matching design to identify its activity area.
7. Paper Foam Finger
Oversized pointing fingers are familiar cheering accessories at sporting events. A flat cardstock version captures the design without foam or sewing.
Materials: Thick construction paper or cardstock, pencil, scissors, markers, and optional cardboard backing.
Draw a large pointing-hand shape with the index finger extended and the other fingers forming a simplified fist.
Cut out the shape, then decorate it with a team name, player number, or cheering message.
For a sturdier sign, glue the design onto thin cardboard. An adult can trim the cardboard after the glue dries.
This version is designed to be held by its wide base, not worn over the hand. Children can use their signs during a pretend championship or arrange them around a sports-themed display.
An entire group can make matching fingers in one team color, or everyone can support a different imaginary team.
8. Sports Trading Cards
Trading cards combine illustration and storytelling. Children can create cards for themselves, fictional athletes, or mascots from teams they’ve invented.
Materials: Index cards or cardstock rectangles, colored pencils, markers, and optional stickers.
Draw a player on the front of each card. Add a name, uniform number, and team symbol.
The reverse side can include imaginative details such as a favorite playing position, special move, nickname, or team motto.
For example, a fictional basketball player might be known for a made-up trick shot, while a soccer goalkeeper could have an unusual superhero-inspired nickname.
Younger children may prefer making one oversized card. Older kids can develop a full roster with matching uniforms and related characters.
Once complete, spread the cards across a table for a team gallery. Children can introduce their athletes and explain the ideas behind their designs.
Sports Crafts You Can Play With
Not every finished craft needs to hang on a wall. Cardboard and paper can become miniature sports games that children help build before they play.
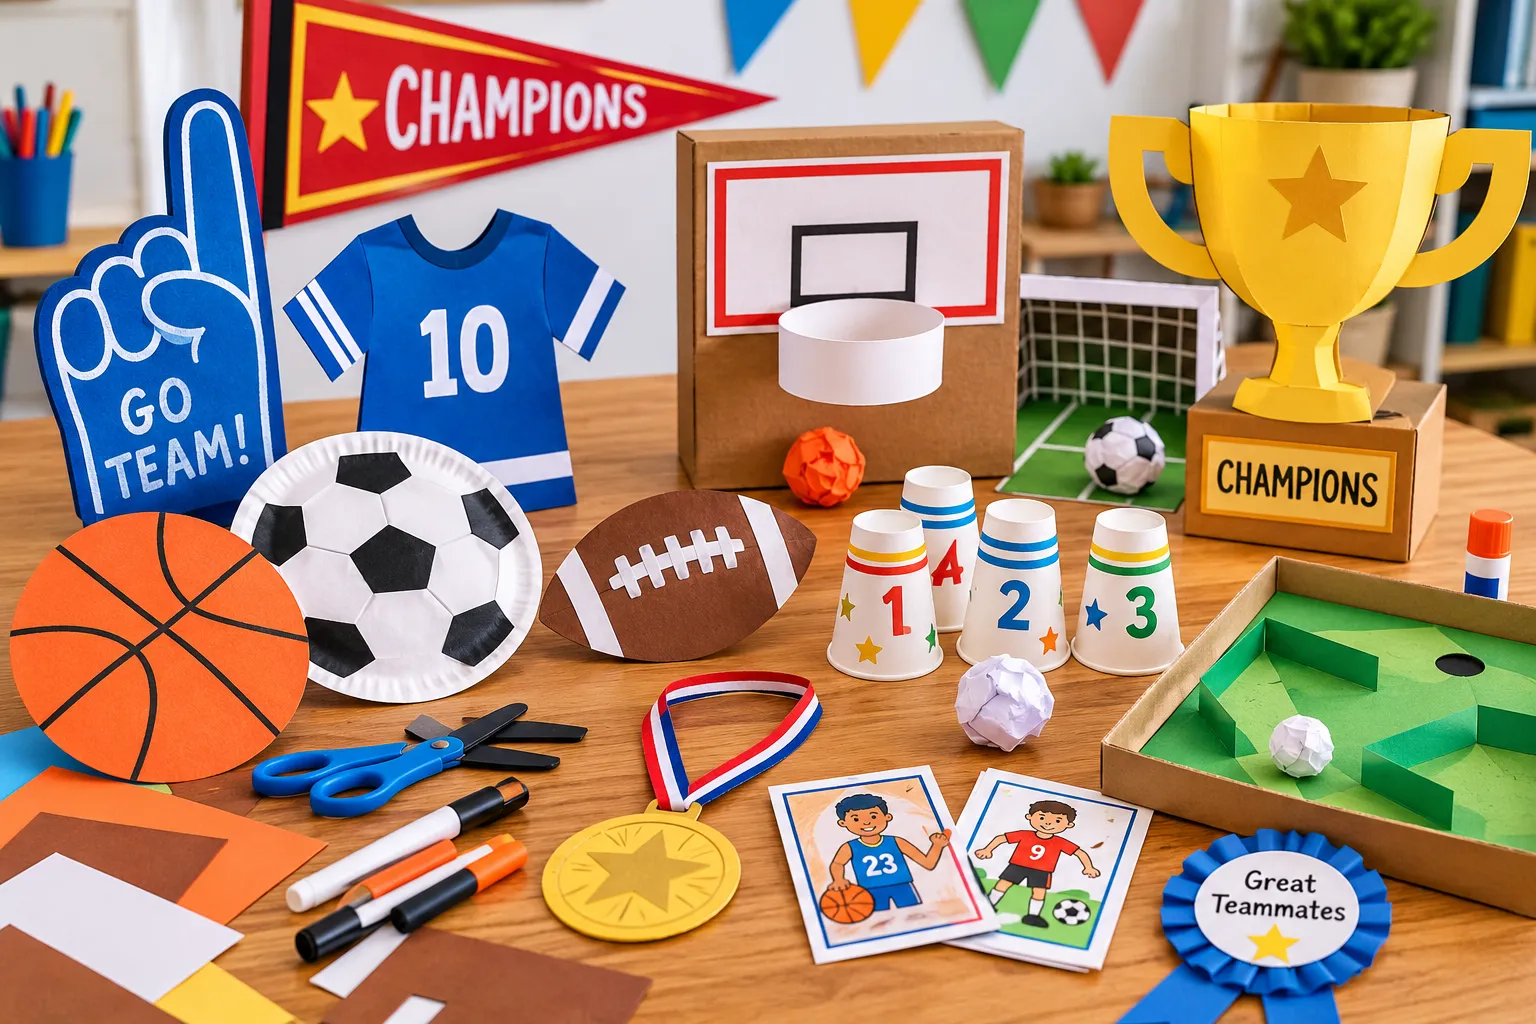
These projects are intended for gentle indoor activities using lightweight paper balls and simple homemade equipment.
9. Mini Cardboard Basketball Hoop
A tabletop basketball hoop turns a cardboard box into a small shooting game. Children decorate the backboard, build a paper rim, and try making baskets.
Materials: Small sturdy cardboard box, cardstock, painter’s tape, markers, scissors, and scrap paper.
How to make it:
- Stand the box upright with its broad side facing forward.
- Draw a backboard square near the top.
- Cut a wide strip of cardstock and curve it into a ring.
- Overlap and tape the strip’s ends to hold the ring shape.
- Attach the back of the ring securely to the cardboard below the target square.
- Crumple a piece of scrap paper into a soft basketball.
The ring should extend outward from the backboard with enough room for the paper ball to pass through. A small folded cardstock support beneath the ring can help hold its shape.
Place the box against a stable support and try gentle underhand tosses.
If the rim bends or the box tips, stop and adjust the construction rather than throwing harder.
Children can also add a miniature scoreboard to the front of the box.
10. Shoebox Soccer Goal
An empty shoebox becomes a soccer goal when it’s placed on its side. The open front provides a target for rolling or flicking a lightweight paper ball.
Materials: Shoebox, green construction paper, markers, tape, and scrap paper.
How to make it:
- Remove the shoebox lid.
- Place the box on its side with the opening facing forward.
- Draw a net pattern inside the back of the box.
- Tape green construction paper in front to represent a field.
- Mark a shooting line on the paper.
- Crumple scrap paper into a small, soft ball.
Children take turns gently rolling or flicking the paper ball into the goal.
For an easier game, move the shooting line closer. To make it more challenging, add paper defenders that stand between the starting line and the opening.
The whole setup can fit on a table or a clear section of floor. If the box moves during play, secure it with painter’s tape before the next turn.
11. Paper Cup Bowling Pins
A set of decorated paper cups can become a small bowling game without heavy pins or a standard bowling ball.
Materials: Six paper cups, washable markers, stickers, and a soft paper ball.
Turn the cups upside down and decorate them with stripes, numbers, stars, or team colors.
Arrange them in a triangular formation, starting with one cup in the front row, followed by two, then three.
Mark a rolling line a short distance away. Players roll the paper ball toward the cups and count how many fall.
The lightweight cups may tip over with very little contact. That’s part of the game, and children can experiment with different arrangements.
For a team variation, decorate half the cups in one color and half in another. Players can attempt to knock down cups of their chosen color.
Use a non-slip surface if the cups move too freely. Avoid placing heavy objects inside them.
12. Tabletop Golf Putting Challenge
A shallow cardboard tray provides a contained playing area for a miniature golf-inspired game.
Materials: Cardboard box lid, cardstock, tape, markers, and a soft paper ball.
Lay the lid flat and draw a winding path between a starting point and a target circle.
Fold cardstock strips into low walls and tape them to the tray. Arrange these obstacles so the paper ball has to travel around them.
Players can guide the ball by gently tilting the tray or nudging it with a folded strip of cardstock.
Keep the target visible and leave enough space between obstacles for the ball to move.
Children who enjoy designing challenges can rearrange the course between rounds. Try making one straight route, then a second with several turns.
A shallow tray with raised sides is helpful because it keeps the homemade ball within the playing area.
Crafts for Sports Day and Celebrations
School sports days and team celebrations are natural occasions for handmade awards and decorations.
Preparing a few basic shapes in advance gives children more time to personalize their work. It also makes these projects practical for larger groups.
13. DIY Paper Sports Medals
Paper medals can celebrate participation, teamwork, creativity, or accomplishments during a sports event.
Materials: Colored cardstock, pencil, scissors, glue, markers, and optional metallic-colored paper.
How to make it:
- Draw and cut out a large cardstock circle.
- Add a smaller circle or decorative border inside it.
- Write an award title across the center.
- Decorate the medal with stars, sports balls, or team colors.
- Attach it to a display card or bulletin board.
Possible award titles include “Great Teammate,” “Creative Champion,” and “Team Spirit Award.”
Rather than making every medal identical, invite children to suggest new award categories.
A sports celebration could feature recognition for helping others, inventing games, encouraging teammates, or designing an imaginative mascot.
For young children, display-style medals are simpler than wearable versions with cords or ribbons around the neck.
14. Cardboard Championship Trophy
A cardboard trophy makes a centerpiece for a pretend championship or a classroom sports display.
Materials: Small cardboard box, thick cardstock, scissors, tape, glue, and markers.
Start with the cardboard box as a broad, stable base.
Draw a trophy cup silhouette on cardstock, including a wide bowl, narrow stem, and handles. Cut out the design and decorate it with yellow or metallic-colored paper.
Attach the trophy silhouette to the front of the box. For an upright decorative version, add a folded cardboard support behind the shape and secure it to the base.
Children can write a championship title across the box or add their team name.
This project doesn’t need to look like a realistic metal trophy. Some children may design a tall cup, while others create an unusual award with stars, colorful handles, or a mascot.
Use the finished trophy as a display piece rather than a container or a durable play object.
15. Sports Day Award Ribbons
Award ribbons offer another way to celebrate a sports event, especially when a class wants to recognize different kinds of participation.
Materials: Colored paper, cardstock, glue, scissors, and markers.
How to make it:
- Cut a circle from cardstock.
- Fold a long strip of colored paper back and forth like an accordion.
- Arrange the folded strip around the back of the circle to make a decorative edge.
- Glue two paper strips to the back as ribbon tails.
- Write an award title or draw a sports symbol on the front.
Younger children can skip the accordion folding and use a plain badge with two paper tails.
Make ribbons in several colors without necessarily assigning rankings. A child might design an award for trying a new activity, helping a partner, or showing enthusiasm.
The finished ribbons can decorate a sports day noticeboard or become keepsakes to take home.
Adapt the Crafts for Different Ages
A project that feels simple to one child may require considerable help for another. Instead of assigning every craft to a fixed age, adjust the cutting, folding, and assembly to match the child’s abilities.
Here’s how the same sports theme can work for different groups:
| Group | Suggested approach | Example |
|---|---|---|
| Preschoolers | Large shapes, prepared pieces, drawing, and gluing | Decorate a pre-cut paper soccer ball |
| Early elementary | Simple cutting, folding, and independent decorating | Assemble a cardstock team pennant |
| Older elementary | Multi-piece construction and more design choices | Build and customize a mini basketball hoop |
These are flexible activity suggestions, not strict developmental milestones.
For children who would rather focus on drawing, sports coloring pages for preschoolers provide a related option without a complicated assembly process.
Older children don’t necessarily need more expensive or elaborate materials. Ask them to develop a team identity across several crafts, build a second version of a cardboard game, or explain how they would improve their design.
Leave space for experimentation, too. A child who chooses unexpected colors or invents a different use for a paper shape is still participating in the creative activity.
Turn Craft Time Into a Sports Activity
Once the projects are finished, a classroom or family group can turn them into a small sports-themed event.
For example, arrange three stations around the room. At the first, children decorate team pennants and paper jerseys. At the second, they try the cardboard basketball hoop. At the third, they make medals or trading cards to take home.
The activities don’t need formal scores or winners. Children can rotate between stations, work with partners, or return to a favorite project.
For a larger school event, these craft stations can complement field day activities for kids. Keep cutting and gluing areas separate from active running games, with enough space for groups to move between them.
A quieter table with easy sports coloring pages gives children another way to participate when they aren’t interested in building something.
Give Every Finished Craft a Purpose
One child might take a handmade pennant home, another might create a whole collection of trading cards, and a group of friends could spend the afternoon improving their cardboard soccer goal.
The finished object doesn’t need to be perfect. What matters is having a project children can shape with their own ideas and enjoy afterward.
Start with the materials already available, choose a sport they recognize, and let the design take its own direction.